Home
Portfolio
Portraits
Stories
Places
Food
Blog
Contact
+32 (0)3 286 80 40
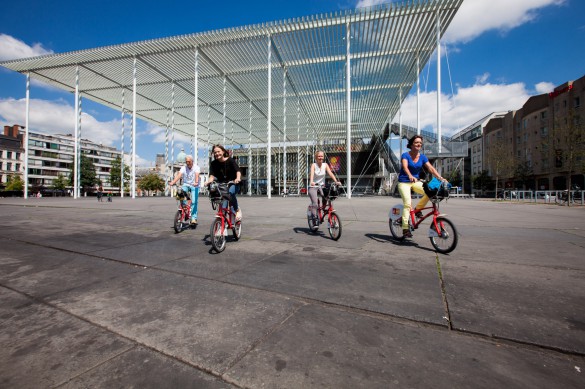
Photoshoot for Velo Antwerpen
June 08, 2014
·
blog
·
0comments
2
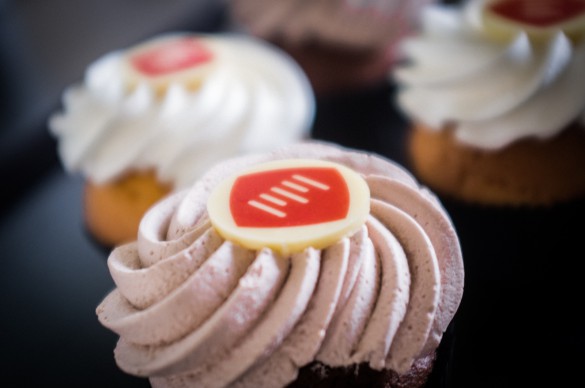
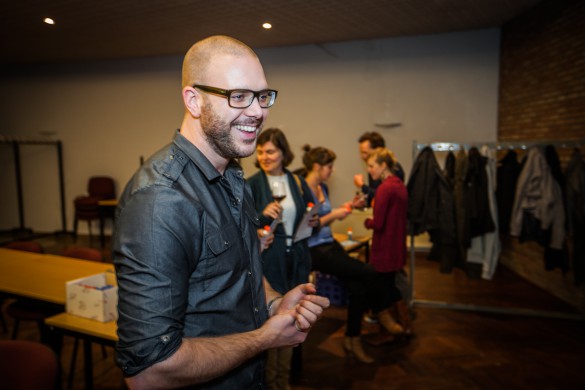
Motionmill cupcake action
February 06, 2014
·
blog
·
0comments
1
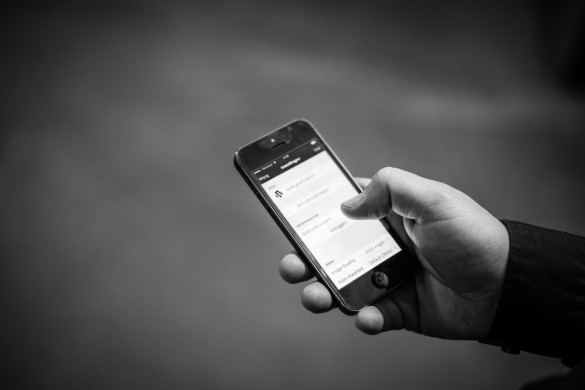
Graficult presentationial shoot
November 23, 2013
·
blog
·
0comments
0
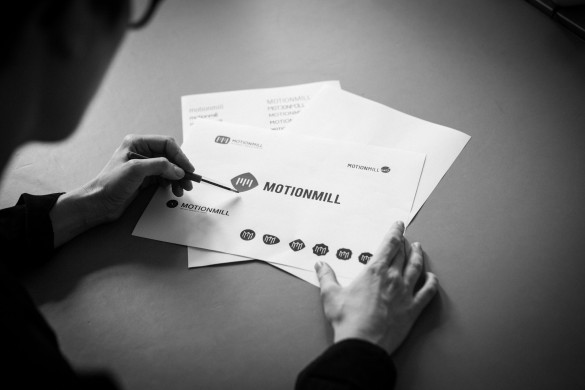
Motionmill company shoot
October 23, 2013
·
blog
·
0comments
0
The Social Media Club networking event
November 21, 2012
·
blog
·
0comments
1
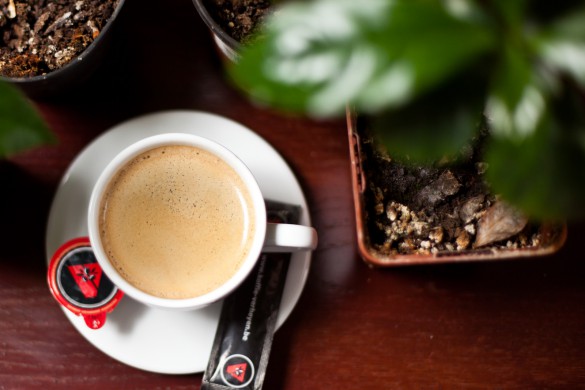
Koffie Verheyen
August 20, 2012
·
blog
·
0comments
0
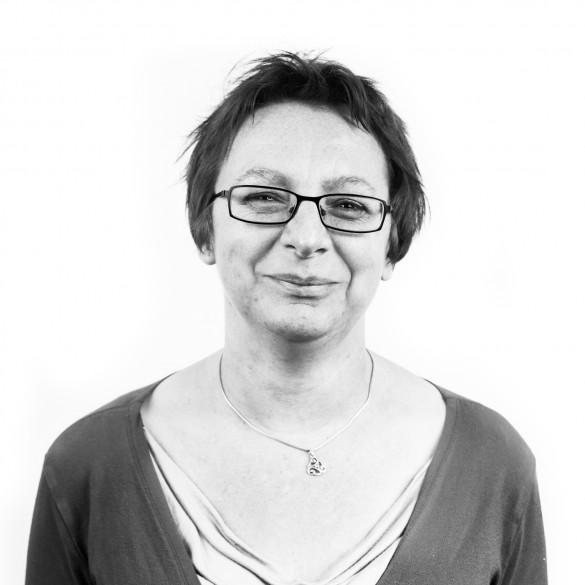
Lazuli Coaching
January 22, 2012
·
blog
·
0comments
0